October 13, 2026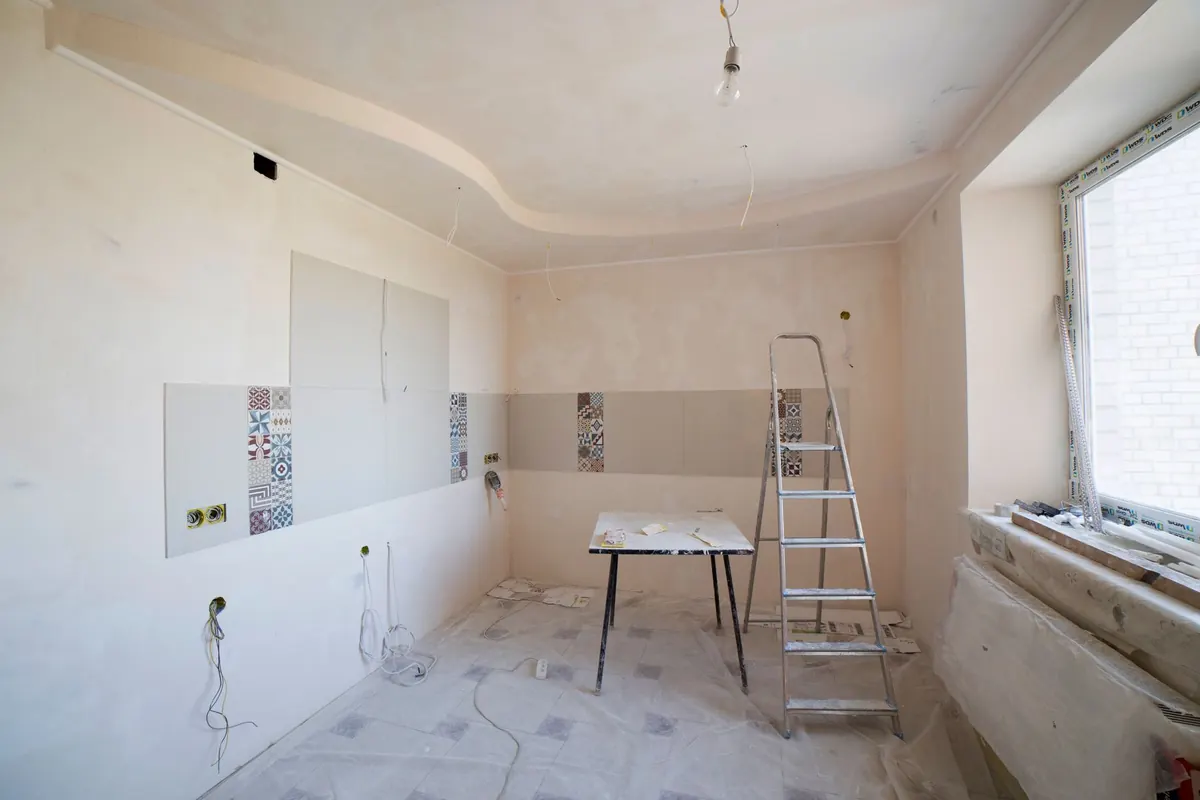
A dated kitchen rarely needs a full renovation to feel current again. The tired parts are usually the surfaces: the orange-toned oak, the flat greige walls, the single light fixture doing all the work above your head. Eight small projects, most of them doable between Friday evening and Sunday afternoon, can move a kitchen from "we should really redo this someday" to "wait, when did we do this?" The trick is order. Do the messy, heavier jobs first, then layer in the finishing touches that make the whole room look deliberate.
Paint the Cabinets First
Cabinet paint is the highest-return weekend project in any kitchen, and the one most often rushed. Prep is the job; the painting is the easy part.
The prep, shortened
- Take off doors and drawers, and label them with painter's tape so they go back in the same spot.
- Degrease every surface. Kitchen cabinets carry a film of cooking oil that paint will not stick to.
- Lightly scuff, wipe clean, and fill any dents with wood filler. Sand smooth.
- Prime with a bonding primer. Skip this and you will be repainting within a year.
- Apply two thin coats of cabinet-grade paint — a waterborne alkyd or urethane — with a foam roller for flat panels and a good brush for the profiles.
Let each coat dry for the full time on the can instead of the time you feel like waiting. Then give the doors several days to cure before you slam them or scrub them.
While the doors are off, paint the walls a shade or two lighter than the cabinets. It costs one gallon and an afternoon, and it makes the cabinets look custom rather than repainted. If you rent, check what your lease says about painting before you open a can.
New Hardware Does More Than You Think
Knobs and pulls cost little per piece and read as a bigger change than almost anything else you can buy. Two rules keep it looking intentional: pick one finish, and respect your existing hole spacing. If your current pulls are three inches center to center, buy three-inch pulls or plan to fill and redrill. It is completely normal to put knobs on the doors and pulls on the drawers.
Brushed brass adds warmth, matte black adds contrast, polished nickel stays classic. Whichever you choose, price it out for every door and drawer before you order — the total adds up faster than the per-piece price suggests.
Then consider the faucet. Replacing one in the same footprint takes about half an hour with a basin wrench, and it changes how the whole counter reads. Check the supply lines while you are underneath and replace any that look brittle.
Fix the Light Before You Buy Anything Else
Bad lighting makes good paint look worse. Before you spend another dollar on decor, do three things.
Match your color temperature. Kitchen bulbs should sit between 2700K and 3000K. Cool, blue-white bulbs make wood look gray and food look unappetizing. Get every bulb in the room to agree.
Add under-cabinet light. Plug-in LED strips and hardwired bars both work. This is the single fix that makes a counter feel like a workspace rather than a shadow.
Replace the one-fixture-fits-all ceiling light. A simple flush mount, or a pair of pendants over an island, gives the room a focal point. A dimmer switch costs barely anything and lets you switch from task lighting to dinner lighting without changing a bulb.
If your plan involves new circuits, moving a fixture, or anything behind the drywall, hire a licensed electrician. Permits may apply, and this is not the place to learn wiring.
A Backsplash You Can Install Without a Tile Saw
You do not need to set tile to get the effect of a new backsplash. These options look better than their reputation, and they are reversible if you rent:
- Peel-and-stick tile. Best on smooth, clean, painted drywall. Buy a little extra, lay the pattern out dry before you peel anything, and press firmly with a roller.
- Beadboard panels. Cut around outlets with a utility knife. Paint it the same color as the cabinets for a seamless look, or a soft contrasting shade.
- A painted panel with trim. A sheet of plywood or MDF, a few strips of lattice, and paint. It reads as paneling and costs less than a box of tile.
- Glass or mirrored panels. One sheet cut to size, attached with mirror adhesive, makes a small kitchen feel twice as deep.
- Removable wallpaper rated for kitchens. Cheap, quick, and a good way to test a pattern you are not sure about.
Whatever you choose, check the manufacturer's guidance for use near heat and moisture. Behind a range, where splatter and steam are constant, tile or a proper heat-rated panel is the safer call.
Small Swaps That Make the Room Look Finished
Once the big surfaces are done, the last ten percent does the heavy lifting. Replace yellowed outlet covers with ones that match the wall. Run a fresh bead of caulk where the counter meets the backsplash — nothing dates a kitchen like a gray, cracked line. If your sink is scratched beyond saving, a new drop-in basin in the same cutout is one of the few larger purchases worth making on a budget.
Then style it. A washable runner, one good bowl, a plant that tolerates low light, and a set of matching containers can do more for the room than a new appliance. Clear the counter down to what you actually use daily and store the rest.
How to Sequence the Work
- Weekend one: Declutter, degrease, and paint cabinets and walls. This is the long one.
- Weekend two: Hardware and faucet, once the paint has cured.
- Weekend three: Lighting — under-cabinet strips, bulbs, dimmer, ceiling fixture.
- Weekend four: Backsplash, caulk, outlet covers, and styling.
Living in a half-finished kitchen is normal. Keep one counter clear, cook simple meals, and resist the urge to rush a coat of paint.
Make It Look Deliberate
A budget kitchen refresh works when the choices look intentional rather than temporary. Limit yourself to two or three finishes, repeat the same metal everywhere, and keep the palette tight. If something goes wrong — a color that turns out too yellow, a peel-and-stick sheet that refuses to lie flat — fix that one thing rather than starting over. Kitchens are read as a whole, and a well-lit, well-caulked, well-ordered room forgives a great deal.
Photo: Valentin Ivantsov / Pexels